Pro Bar Maker
How to use the filter Customer Tags
At Pro Bar Maker version 1.10 we introduced a new filter: Customer Tags. With this filter you can show (or not show) a bar to certain users of your e-shop based on their customer tags, or to users who have not logged in (anonymous).
It is easy to define the filter in Pro Bar Maker: Just define it in tab Filters when you edit or create a bar.
However, the filter will have no effect unless you make a small change to your theme’s liquid code. If you are not confident to make the change yourself, you can ask our support to make the change.
The Goal
The goal is to insert the code for the customer tags filter into file theme.liquid of your theme. Here is the code you need to insert:
{% comment %} START ProBarMaker {% endcomment %}

<script>

var p_b_m_ut_b;

{% if customer %}

{% if customer.tags.size > 0 %}

p_b_m_ut_b = '{{ customer.tags | join: "," | replace: "'", "[[]]"}}';

{% else %}

p_b_m_ut_b = '{% raw %}{{}}{% endraw %}';

{% endif %}

{% else %}

p_b_m_ut_b = '{% raw %}{{anonymous}}{% endraw %}';

{% endif %}

</script>

{% comment %} END ProBarMaker {% endcomment %}
Detailed Steps
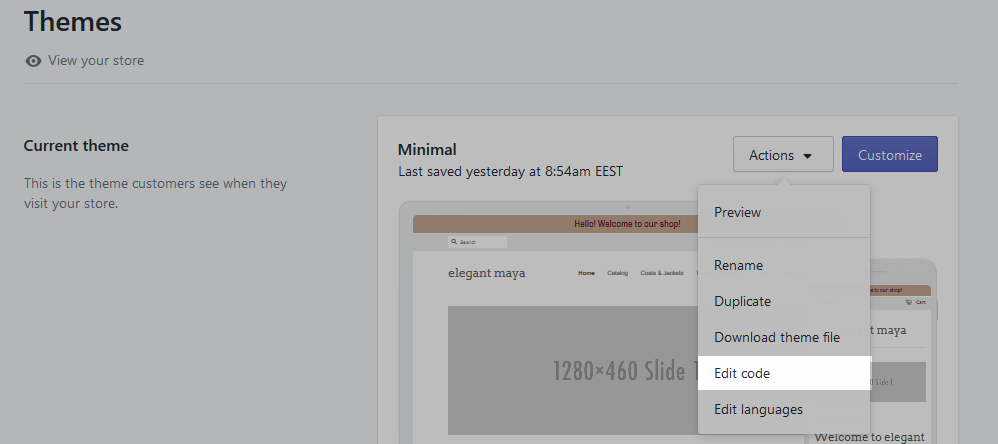
- From Shopify admin, select the option Online Store and then the option Themes.
- For your current theme, select the option Actions > Edit Code.
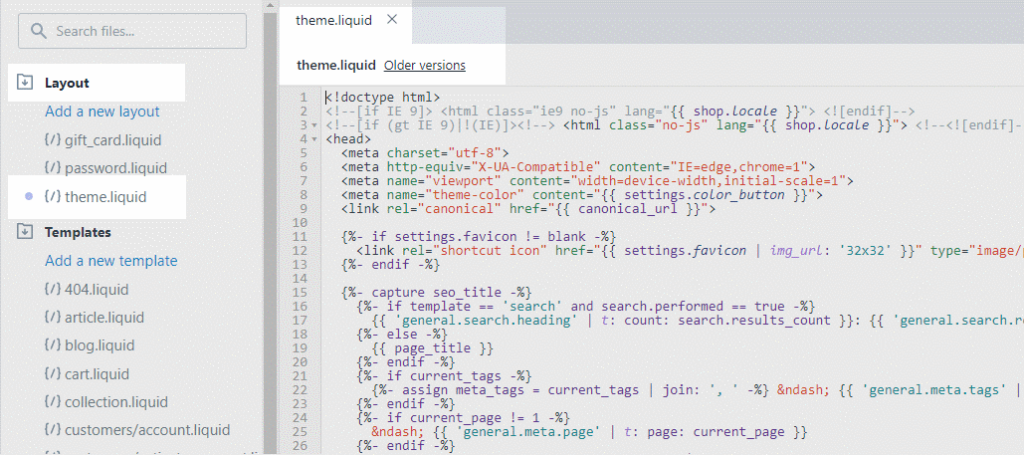
- From the right vertical panel of the Theme Editor (under folder Layout) locate the file theme.liquid. Click on the file name to open it.
- Now you can scroll down and copy the code of the customer tags filter given above near the end of the file (just before the closing body tag).
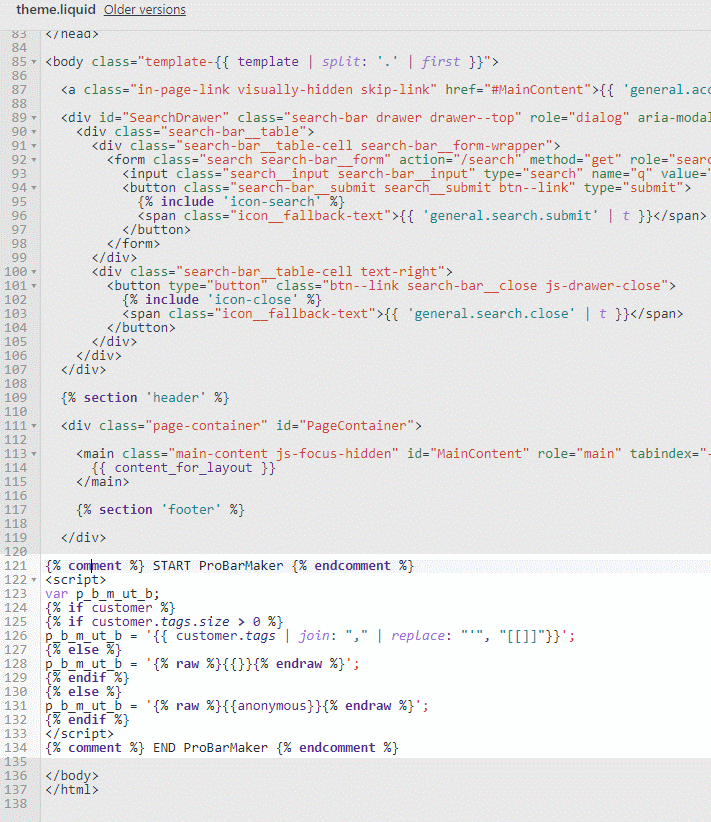
- Press the button Save and enjoy your new filter!
- Click on the Older versions link located at the top bar, next to the file name (theme.liquid)
- Use the drop-down to select a previous version that doesn’t break the page, and press the Save button.